Article Purpose: To guide you through the basics of creating and customizing sports graphics using the Overlay Editor.
The Overlay Editor is a powerful tool within the Studio platform that allows you to design, build and manage the graphical overlays used on your video streams. This guide covers the fundamental steps from creating a background to implementing your finished graphic.
Part 1: Preparation - Create Your Background (Optional)
- Using a graphic design tool like Adobe Photoshop or PowerPoint, can help you create the background needed for your scoreboard or graphic. This can include team colors, shapes, and logos.
- Export the finished image as a .jpeg or .png file to prepare it for upload.
Part 2: Getting Started in the Overlay Editor
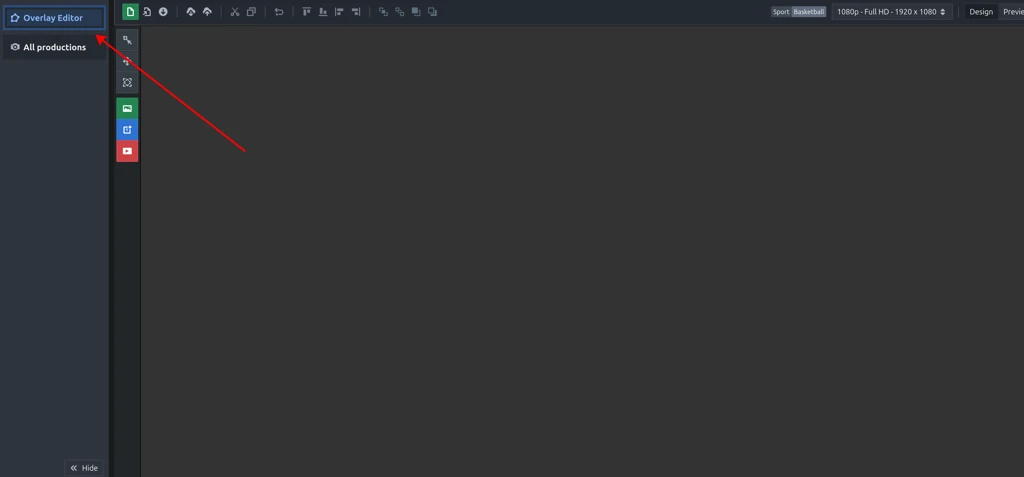
1. Log into the Studio platform and select Overlay Editor from the left-side navigation menu.
2. To create a new graphic, click the green "New Screen Graphic" button in the top-left corner.
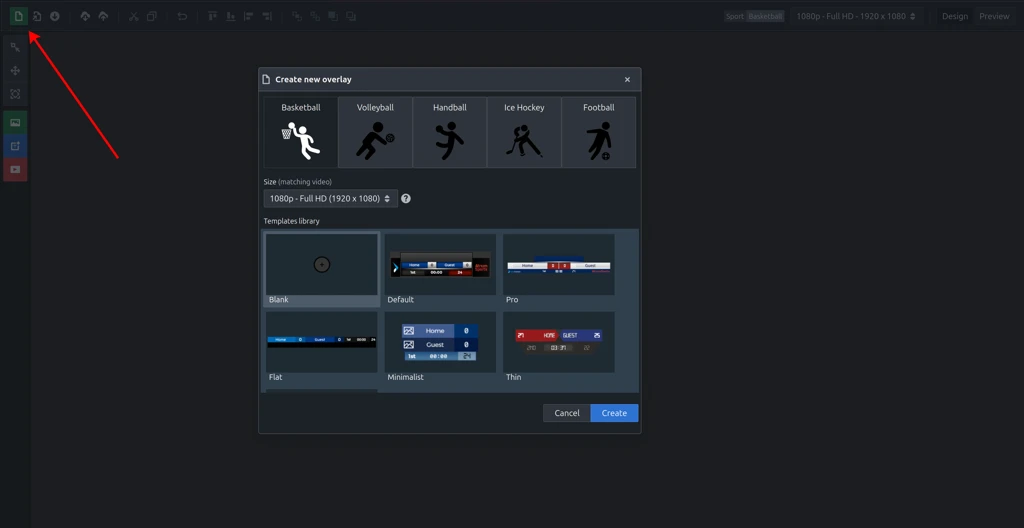
From this point, you have two options:
- Start from a Template: Select a sport to see a list of pre-built templates. Choose one that fits your needs and then click "Create". This is the fastest way to get started.
- Start from Scratch: Choose a blank template to build your graphic from the ground up.
Part 3: Building and Customizing Your Graphic
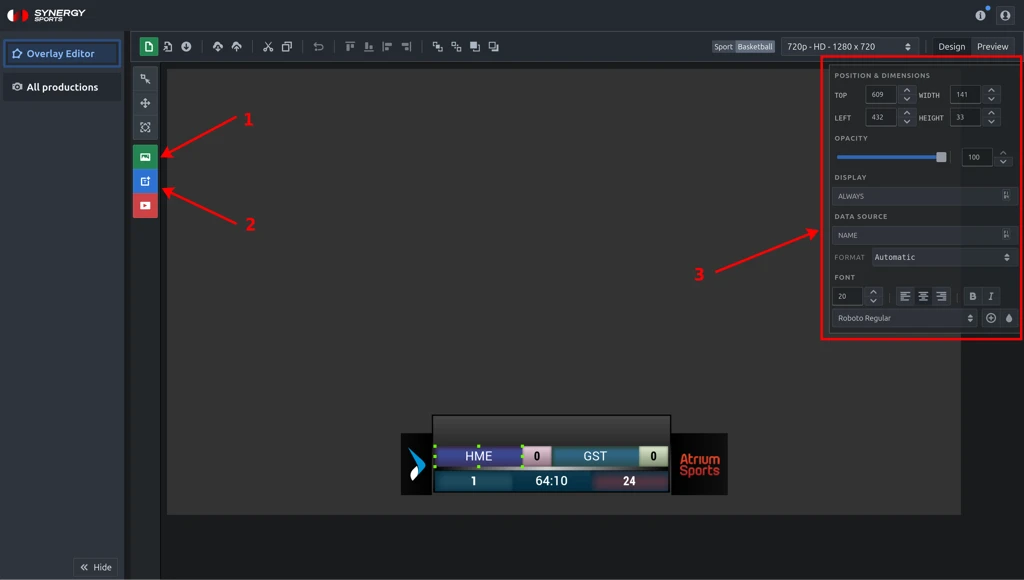
Once you are in the editor, you will use the toolbars on the left and on the top to add and arrange elements.
1. Add a Background Image
- Click the green "ADD IMAGE" icon.
- Browse within your computer and look for the .jpeg or .png file you created earlier.
- Once uploaded, you can click and drag to reposition the image or use the handles to resize it.
2. Add Dynamic Data Regions
- Dynamic data regions are the core of your graphic. They are placeholders that automatically pull in live game information like scores, clocks, team names and statistics.
- Click the "ADD DYNAMIC DATA REGION" button to add a region.
- Modify the dynamic data region with properties available on the right.
3. Customize Each Element
- Click on any element you've added (either an image or a data region) to open its unique settings panel on the right.
- Here you can fine-tune your graphic by adjusting fonts, colors, sizes, visibility conditions and other properties.
Part 4: Previewing and Saving Your Work
1. Preview Your Graphic
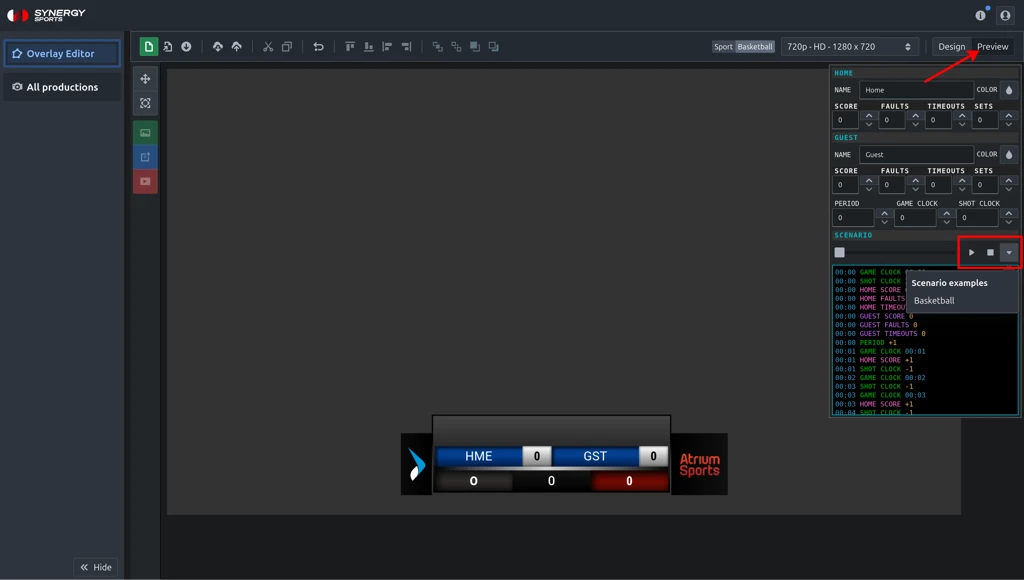
- Use the "PREVIEW" tool in the top-right corner to see how your graphic will look with sample data and under different game situations. This helps you catch any design issues before going live.
2. Save and Export
- Once you are satisfied with your design, use the toolbar options to:
- Save to Cloud: Saves your work within the Studio platform for future use.
- Download/Export: Allows you to save the graphic file to your computer.
3. Using Your Overlay
- Once you saved the overlay to the cloud it can now be selected within the stream configuration settings in Sportshub to be used in a live production.
Further Assistance: If you need any help, please feel free to contact us at support@synergysports.com.
Was this article helpful?
That’s Great!
Thank you for your feedback
Sorry! We couldn't be helpful
Thank you for your feedback
Feedback sent
We appreciate your effort and will try to fix the article