Overview
The Synergy Source Manager can be used to import or capture video (but it is not necessary after updating to Synergy Editor 10 or later). It is also needed for users who intend on importing a Sportscode package into your Synergy Editor for use.
Installing the Synergy Source Manager
Use the link below to install the Synergy Source Manager application:
https://www.synergysportstech.com/apps/sourcemanager/production
For PC: Once downloaded, run the application and complete any installation prompts.
For Mac: Once downloaded, move the Synergy Source Manager from the Downloads to the Application folder in the same manner as seen above.
Lastly, navigate to your Applications and launch the Source Manager.
Documents Folder Setup
It is important to ensure that associated folders for both the Editor and the Source Manager are located in the same place on your computer. Once the applications are installed, Ensure that a Synergy Sports folder has been created in your LOCAL documents folder and contains an additional folder both for the Editor and the Source manager.
Note:The individual application folders may not appear until you have opened/utilized the applications
Ensure the following:
- Synergy files are written to the Documents folder on your computer’s hard drive (not cloud or networked drives, which often have limitations).
- The Documents folder should be at least 25 GB of available disk space.
- You must also have Read/Write permissions on the specified Documents folder.
If you install the applications and the Synergy Sports folder is not present in your local Documents folder, please contact our Support Team (support@synergysports.com) for assistance.
Getting Started
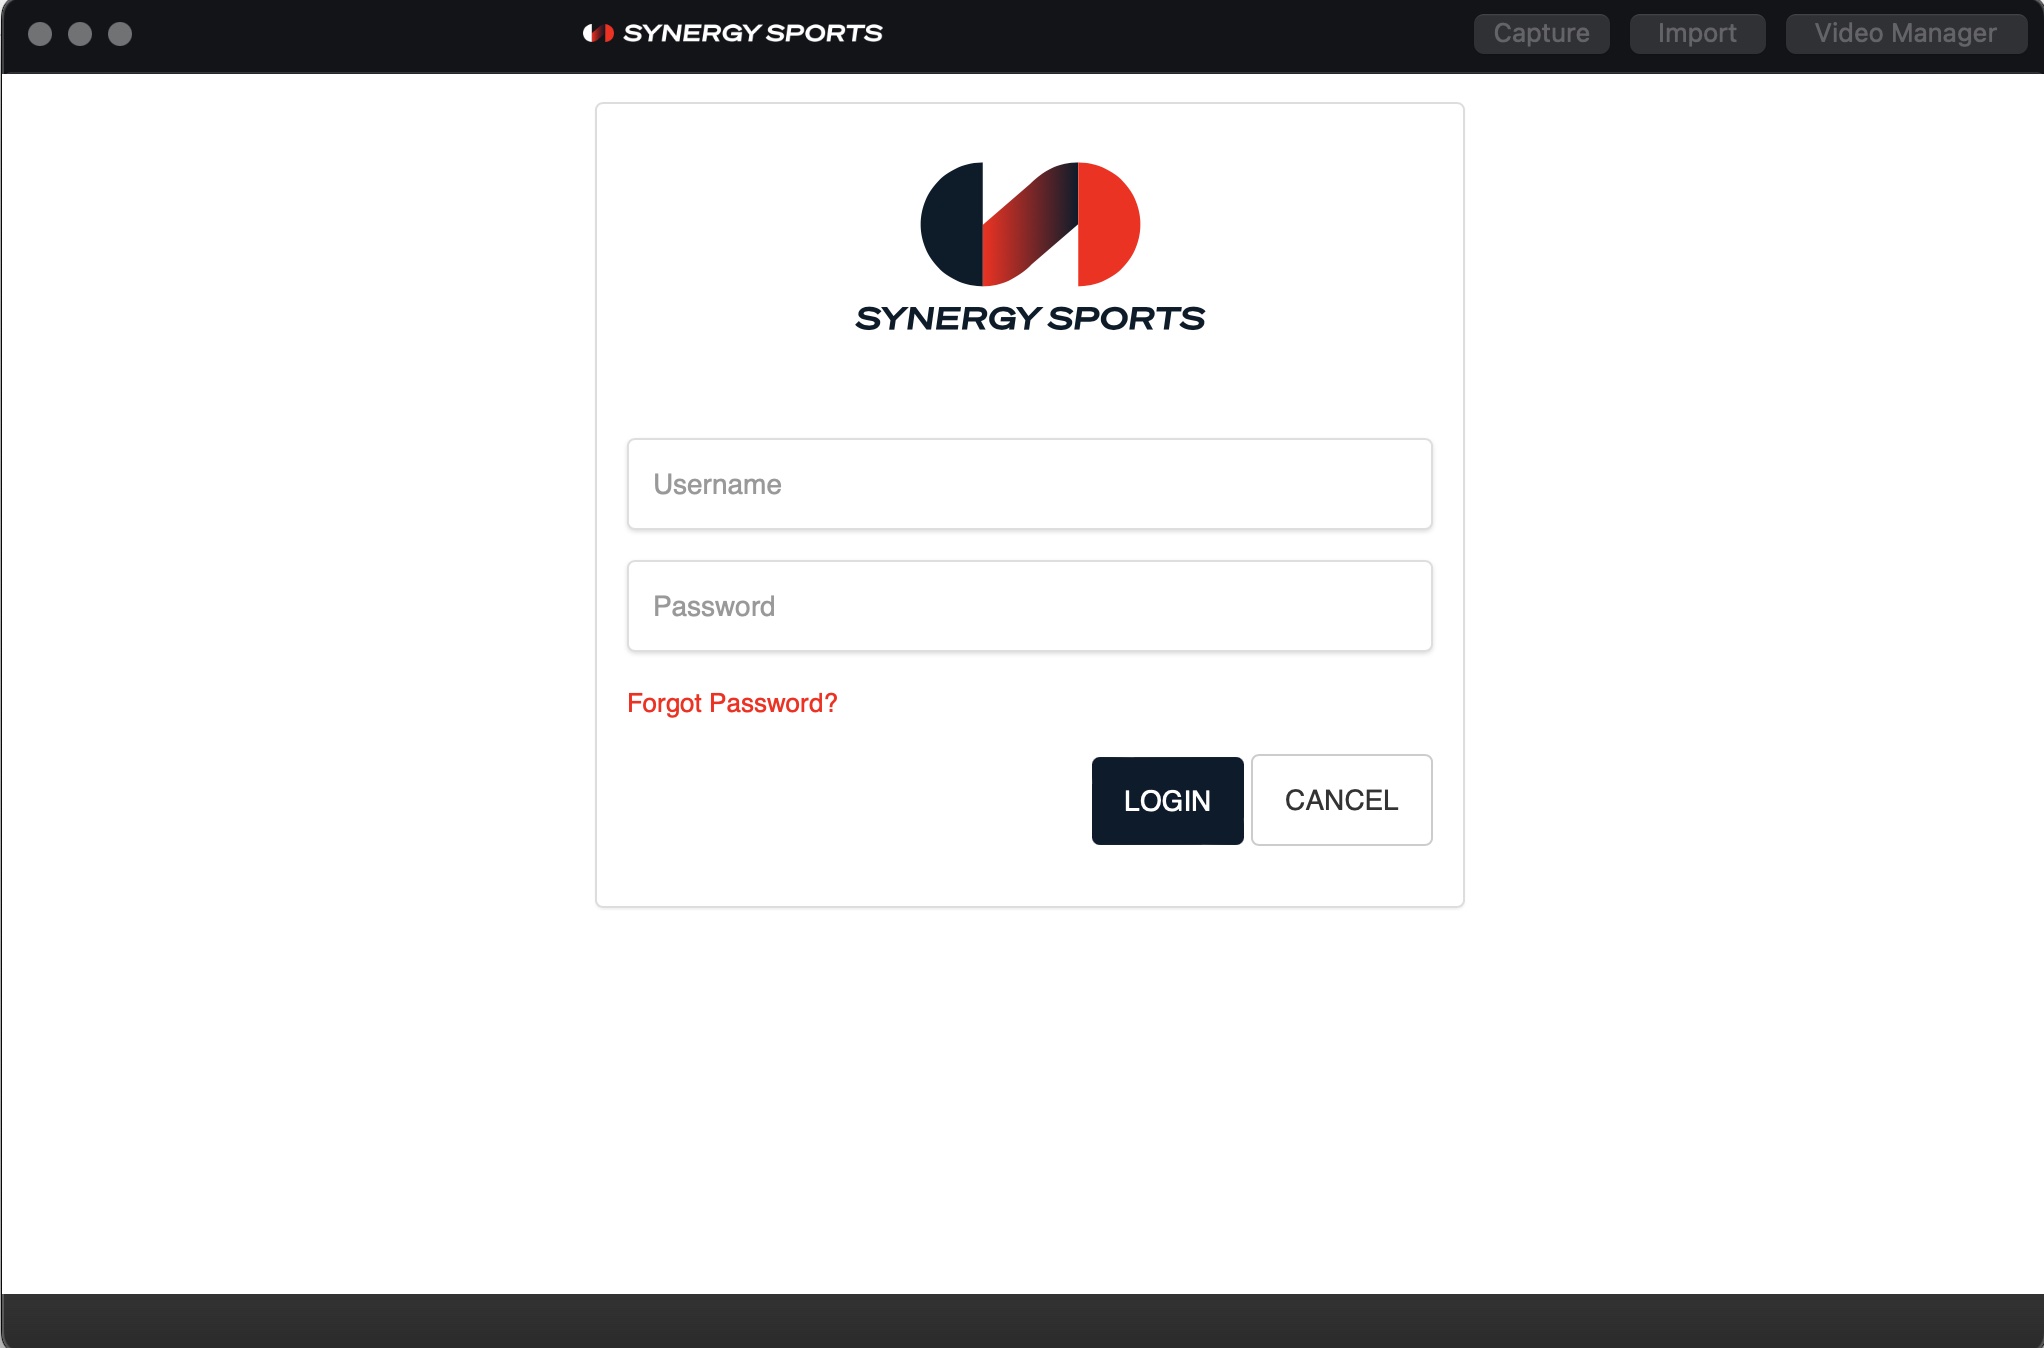
Click the app icon to launch the Synergy Source Manager and log in using your Synergy credentials.

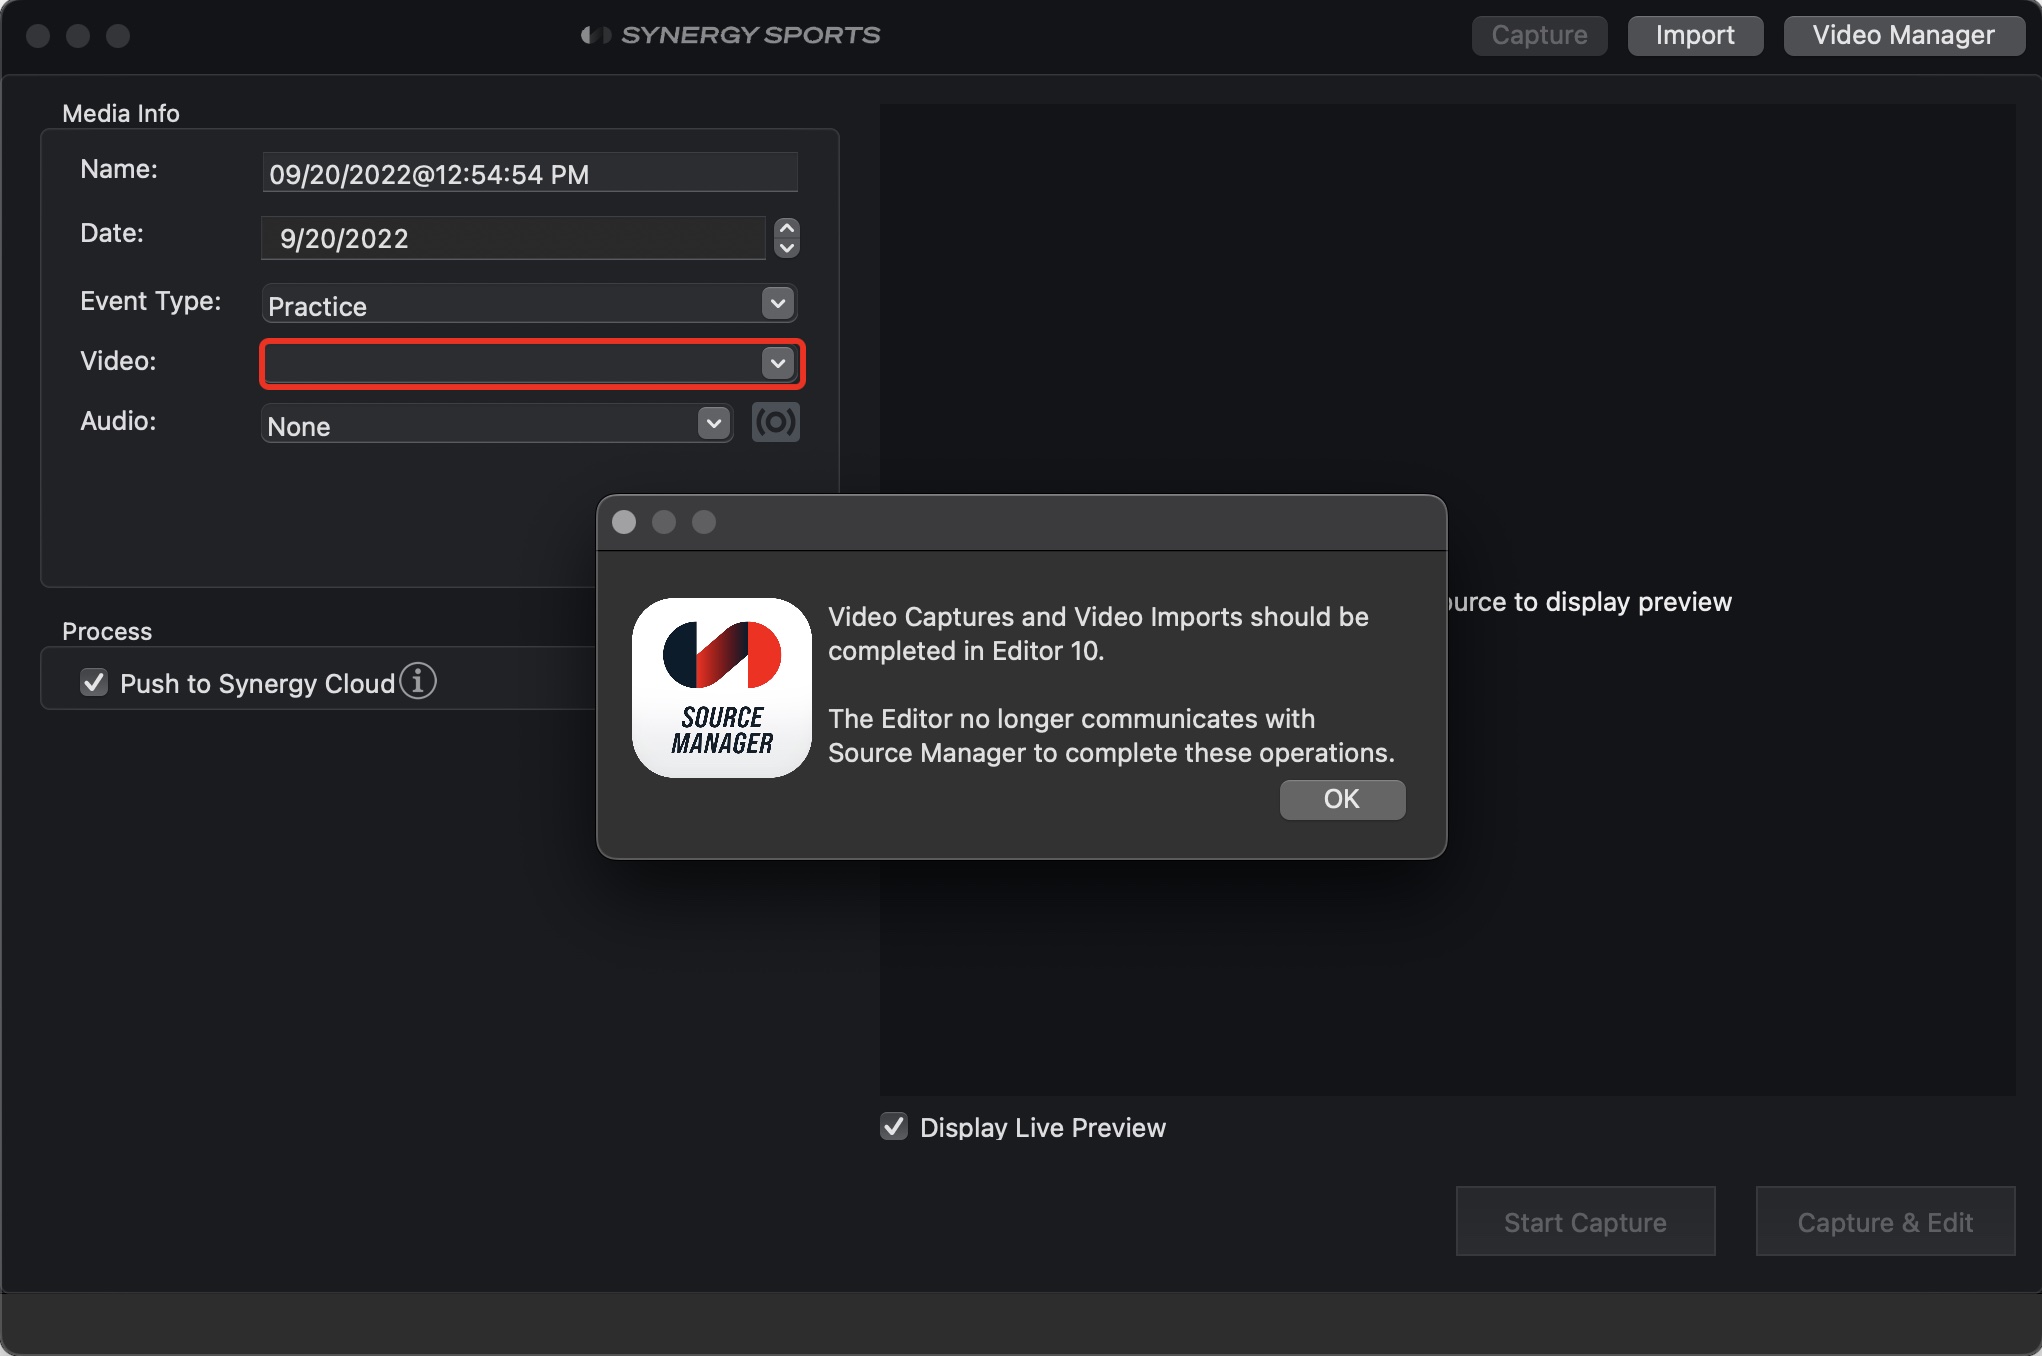
If you log in and receive this message, you do not need to work directly with this application.

Capture
The application defaults to the Capture tab. Use the designated fields to set up the capture before starting. The Name field defaults to the current date and time. To change this, click in the Name text box and enter your desired name. Change the Date by typing in the associated text box or by using the arrows to the right to increase or decrease the date. Label your event by using the Event Type drop-down menu. Choose from Other, Practice, Exhibition, or Game. In the Video drop-down menu, select your input device or select RTMP Stream if you will be using SACS cameras. Make a similar selection in the Audio drop-down to select your connected audio devices.
Check the Push to Synergy Cloud box to automatically upload your capture to the Synergy Cloud for easy sharing or to make it accessible to the rest of your team or staff.
Check Display Live Preview to preview the camera video as it is captured.

Once you are ready to begin, click Start Capture to begin capturing your video for use with the Synergy Editor.
Import
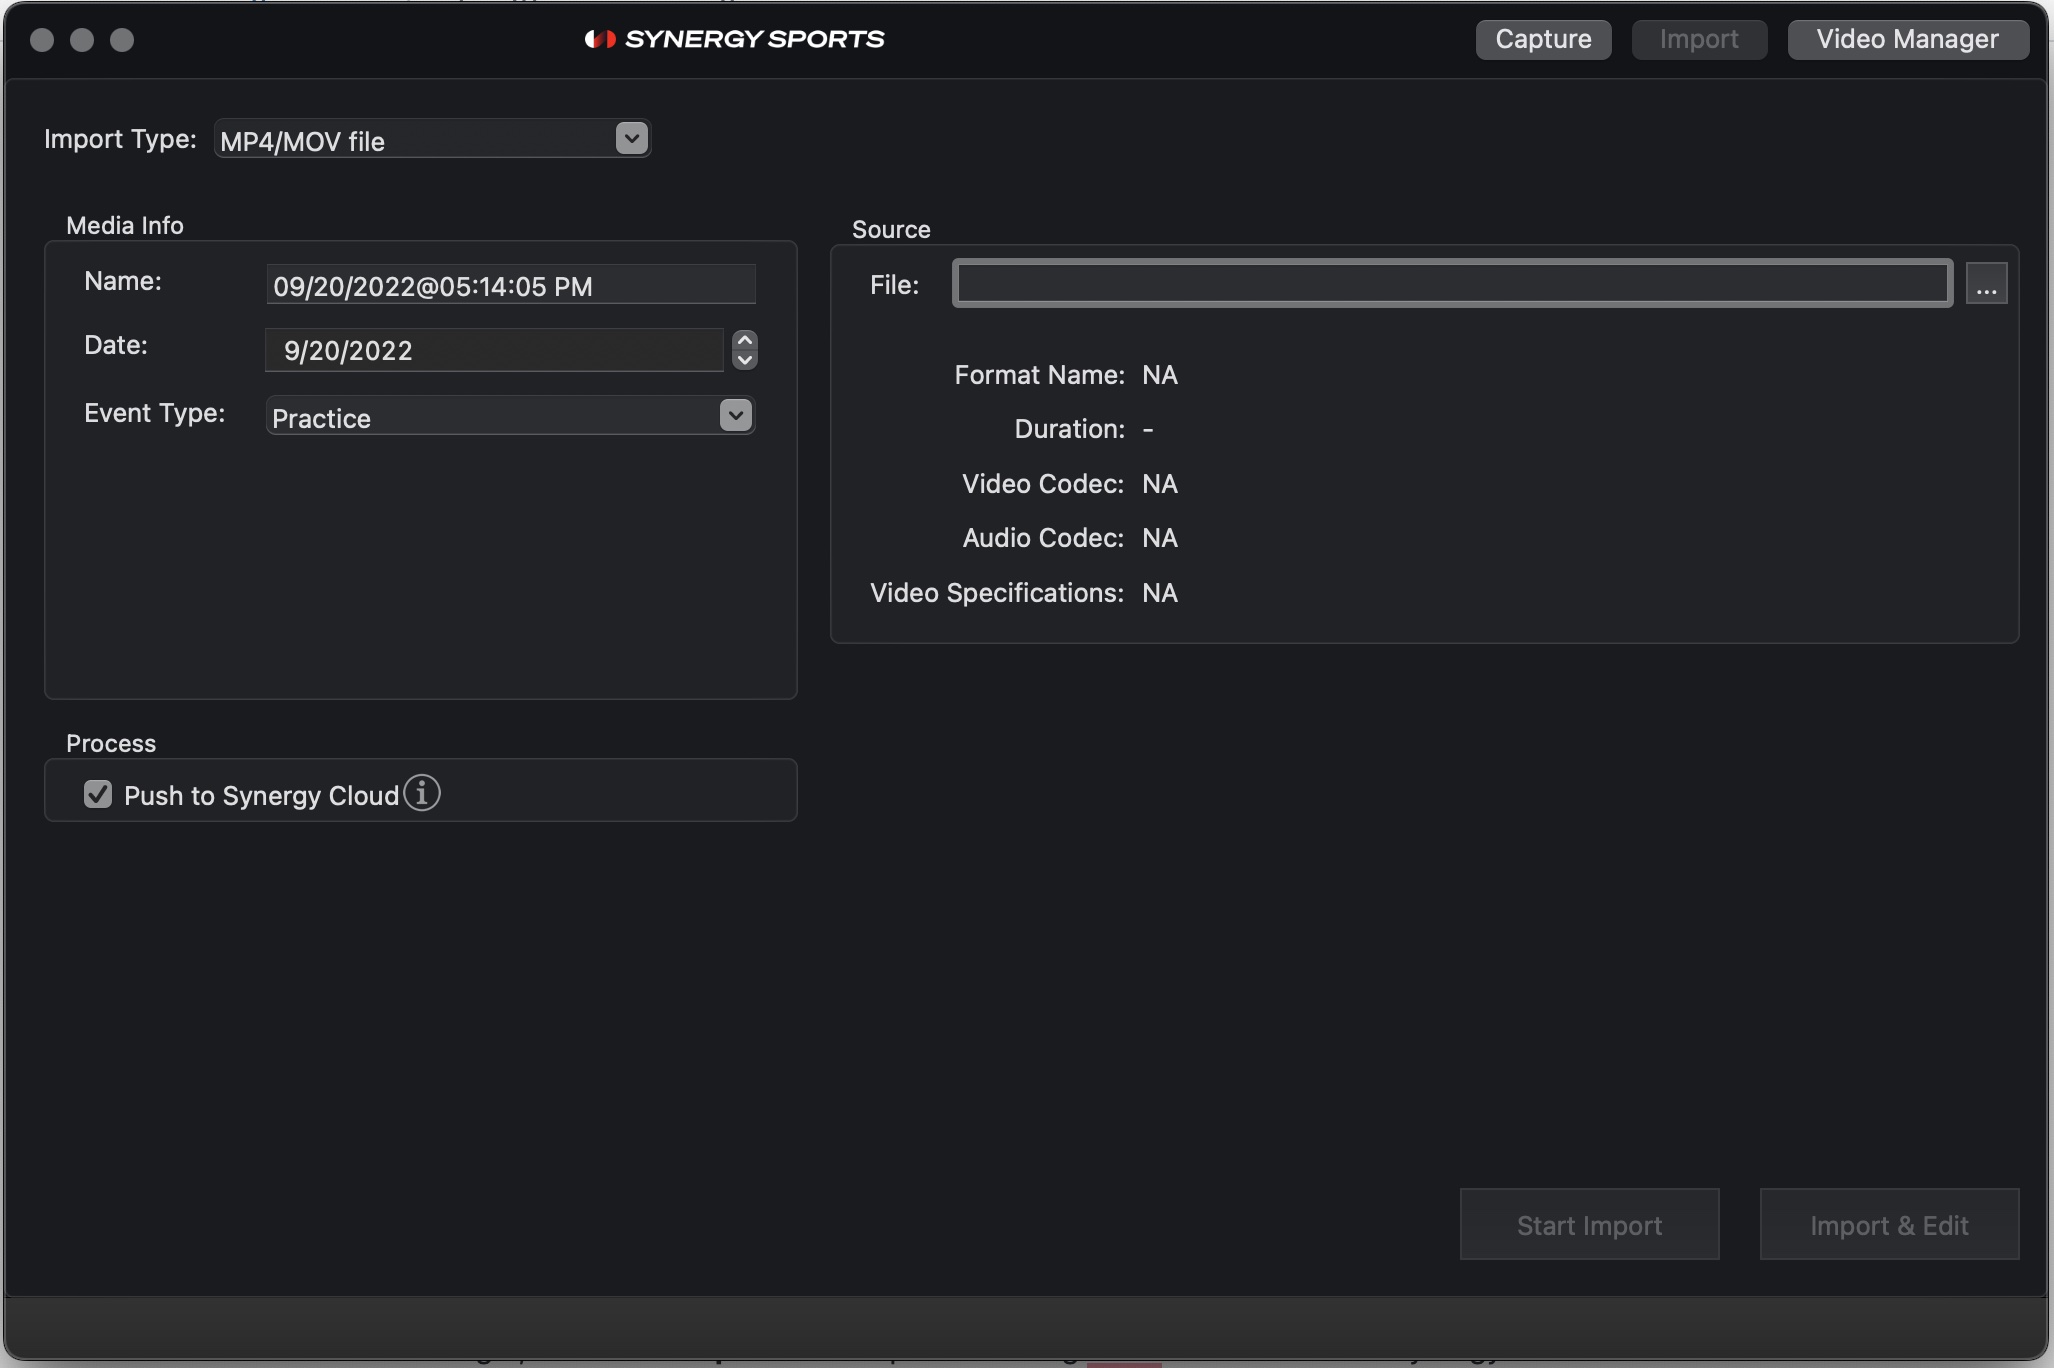
In the Source Manager, select the Import tab to upload existing video for use with the Synergy Editor. Select your Import Type from the drop-down menu, along with the Name, Date, and Event Type as you would with a capture. Use the ellipsis button to the right of the File text box in the Source section to browse your computer or device for the file you would like to import.
Check the Push to Synergy Cloud box to automatically upload your capture to the Synergy Cloud for easy sharing or to make it accessible to the rest of your team or staff.

Once you are ready to begin, click Start Import to begin importing your video for use with the Synergy Editor.
Video Manager
Imported video assets are managed via the Video Manager tab. Click to view a list of all your imports. Click Refresh in the upper left to refresh the whole list. Click to check the box next to Available Only to view assets that have completed the import process.
View the details of an import by clicking on the name in the row. This expands the options available. Choose to Refresh, Download/Upload, Delete Local, Add/Remove Game, and Create Edit.
- Refresh: refresh an import in the event it is disrupted
- Download: download an import to your local machine
- Upload: upload an import to the cloud
- Delete Local: remove a file that you downloaded to your computer
- Add Game: add an import to an existing game
- Remove Game: remove the import's association to an existing game
- Create Edit: opens the import in the Synergy Editor, ready to to be clipped and added to a Custom Edit
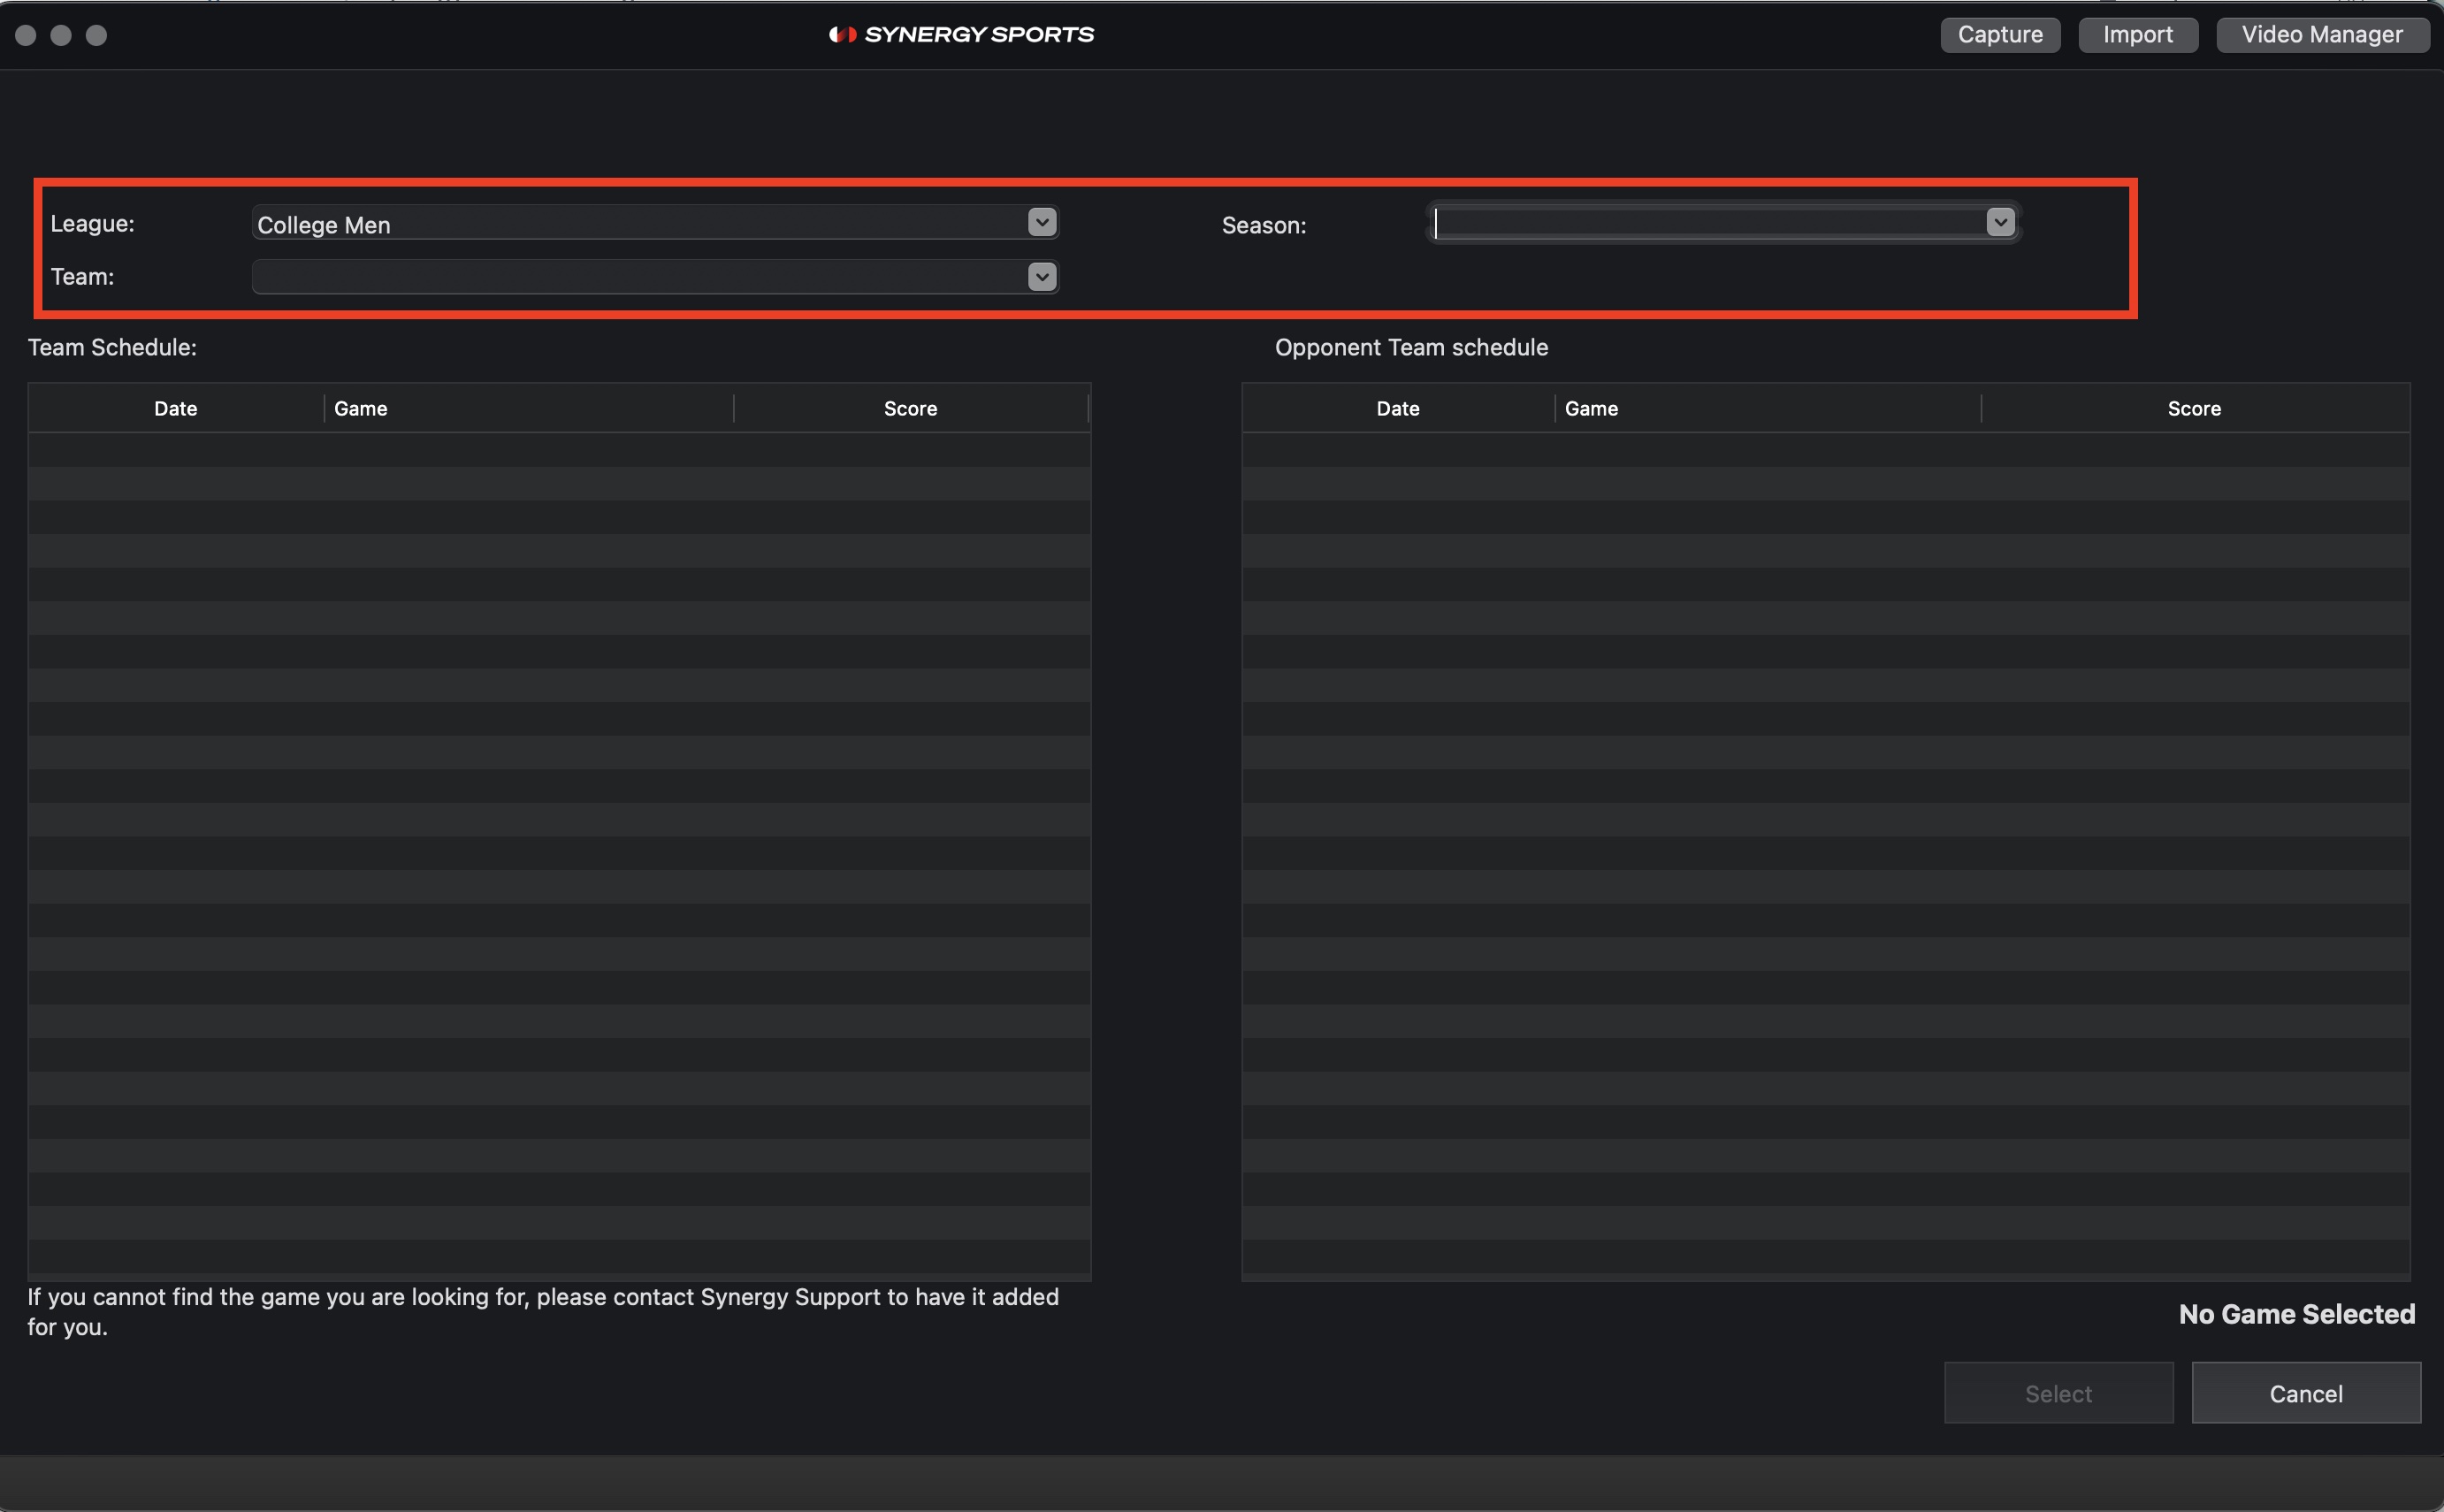
When selecting Add/Remove Game, a new window opens. Select the details from the drop-down menus at the top to populate your game schedule, then select the game you would like to add the import to.

Summary
The Synergy Source Manager offers an additional option when looking to import or capture your own video for use with the Synergy Editor. With a straightforward interface, starting an upload or import is simple and convenient.


